How’d you build that?
Prepare yourself for all the how-to articles that your DIY heart can handle.
One Room Challenge. Master Bedroom Makeover. Week 1
It all begins with an idea. I have been following my favorite Instagram designers and DIYers on their One Room Challenges (ORC) for a few years. Occasionally I wondered what I would do if I was bold enough to participate. Well, you are are about to find out because I did it - I signed up to completely makeover my master bedroom.
About a month ago I did one wall in the master bedroom and I love it. But a danger of redoing 25% of a room is that the remaining 75% now looks that much more in need of TLC. That made the ORC room choice fairly easy.
So here is the plan:
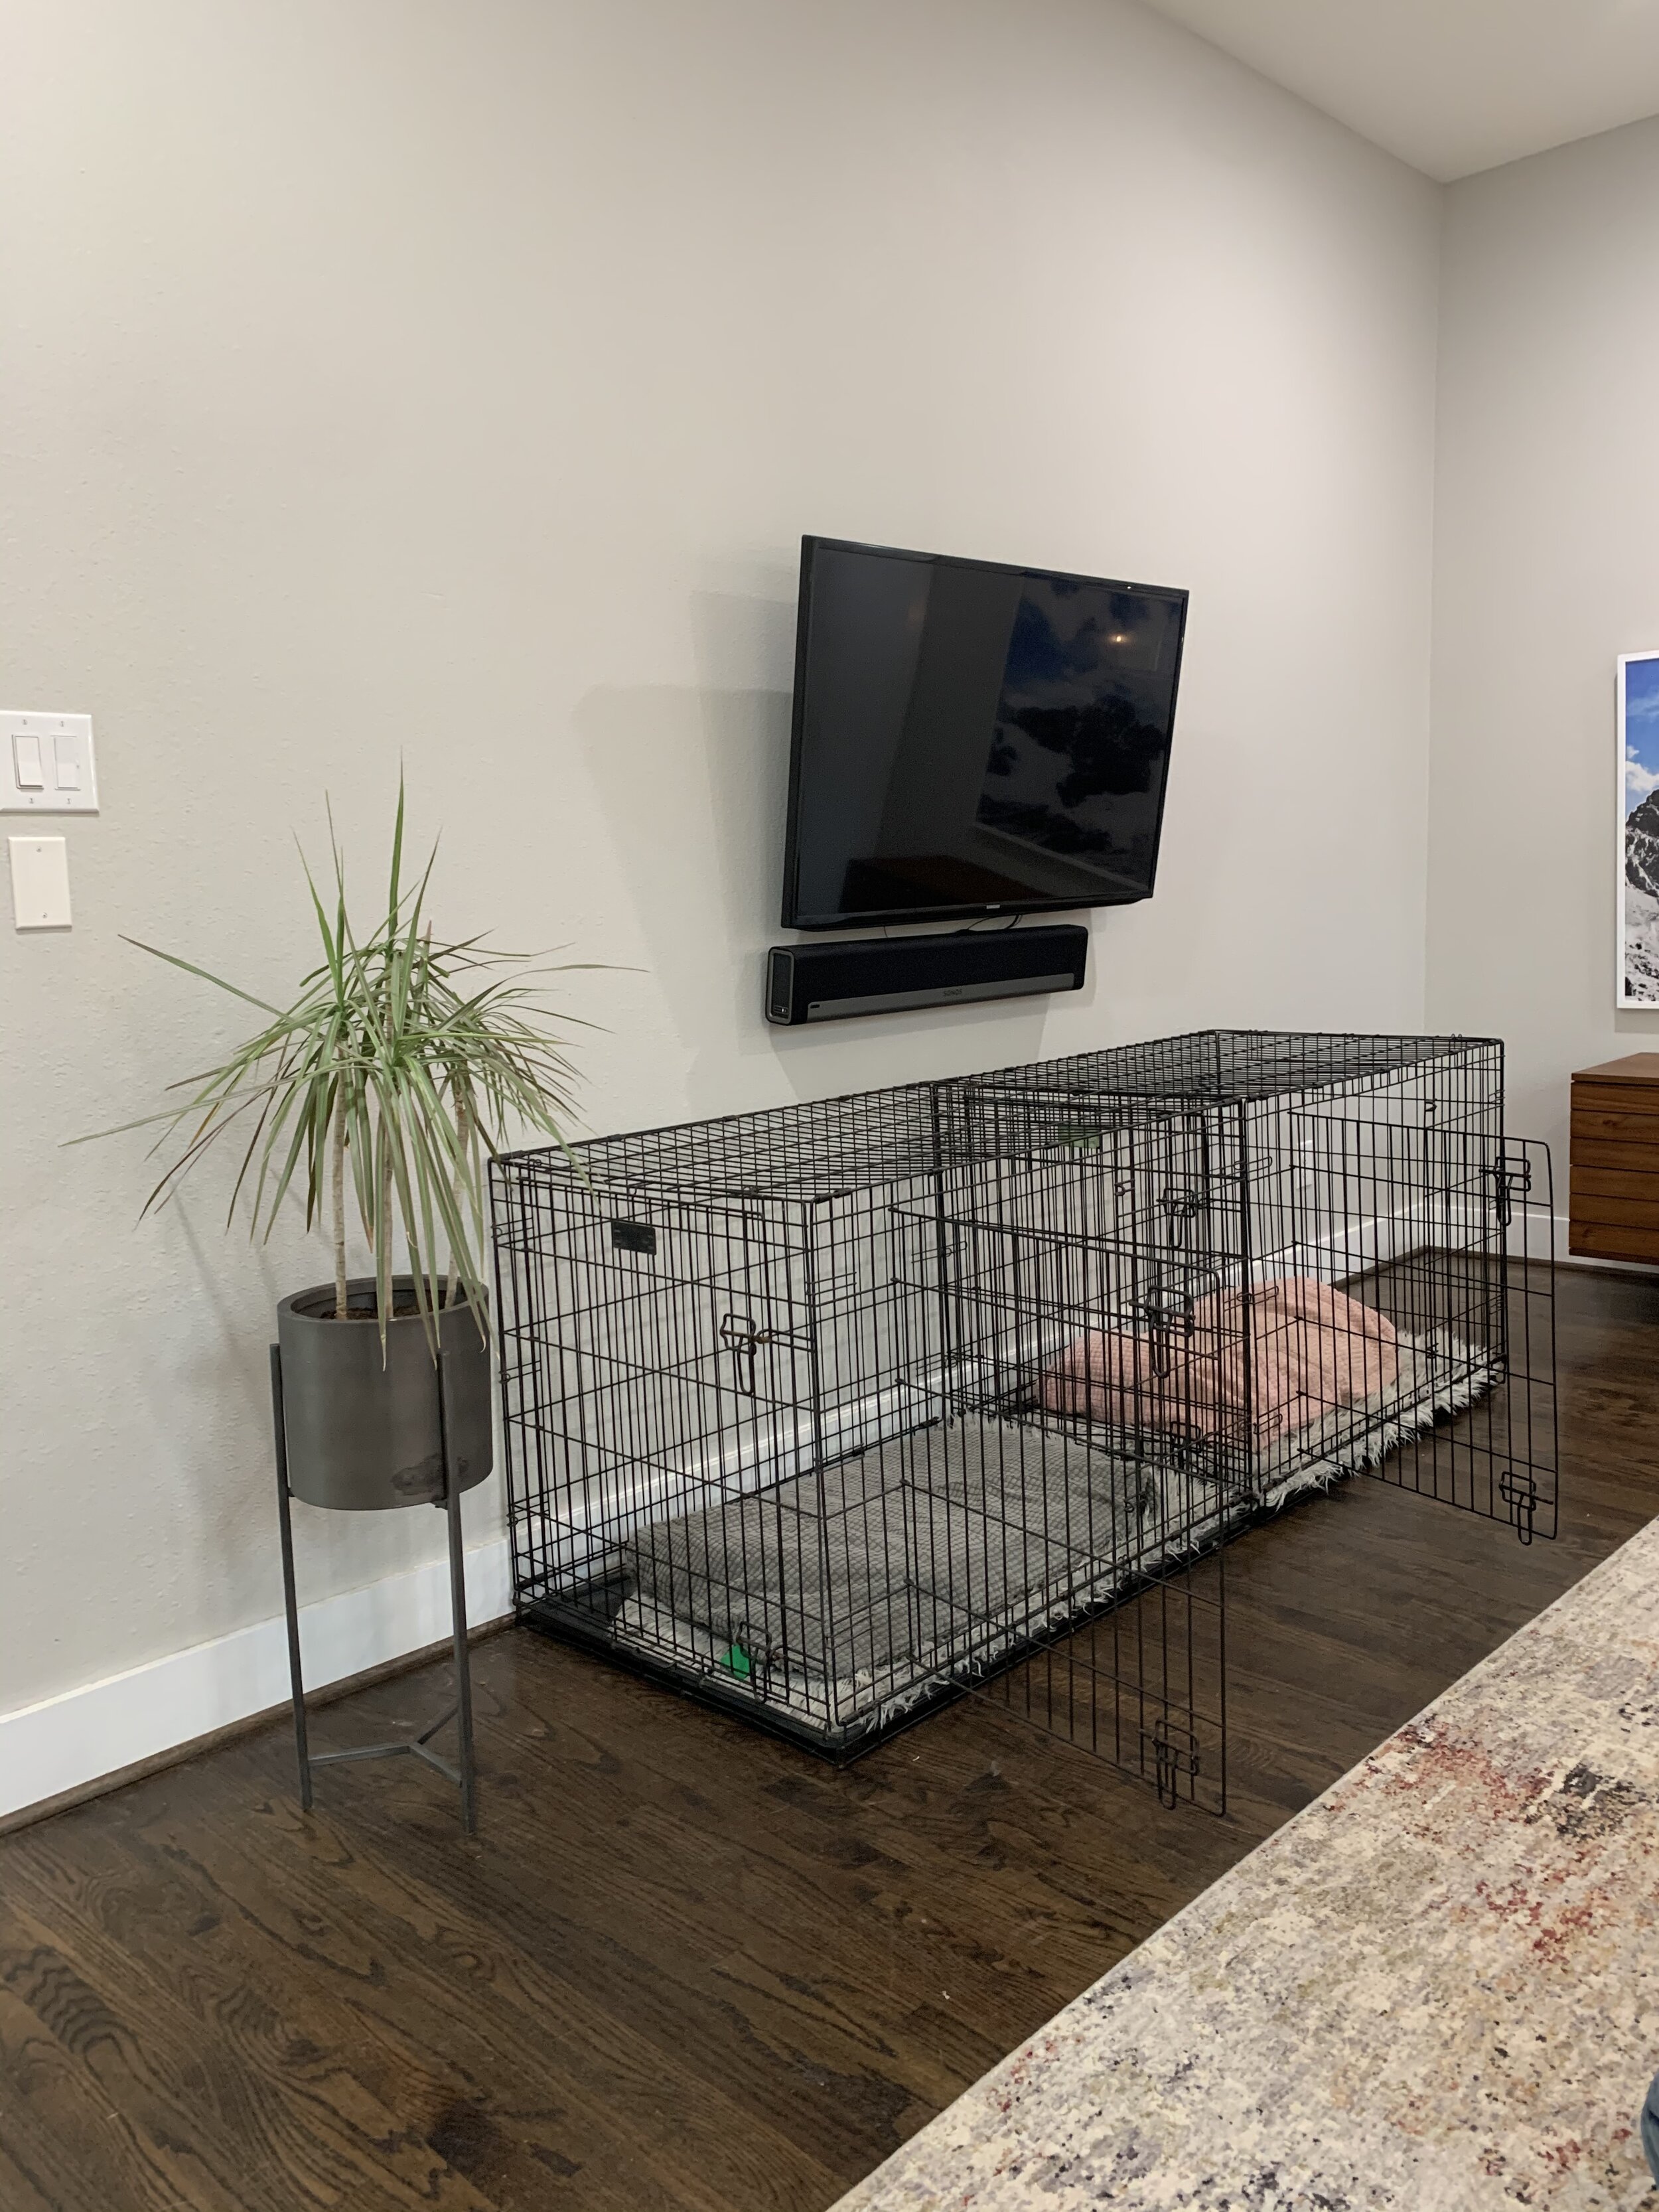
Built-In Wall of Wardrobes - with two dog kennels on the bottom. This is the largest and most terrifying piece of this master bedroom renovation. I need a solution for the two large very ugly dog kennels that now occupy valuable square footage in our room. I love having them in there and they love being in there, but it’s time to elevate our kennel game. I’ll build two kennels and then build a dresser/closet combo on top. I’ll take it all the way to the 10-foot ceilings and finish it so it looks (and is) built-in and seamless. Sounds easy - but I can assure you that it will be anything but.
Framed TV. We have a great TV in our room, but let’s face it - it isn’t cute. I have seen enough DIYers convert a flatscreen into a framed TV, that I think this will be an easy and beautiful conversion.
Dip-Dyed Fiber Art. I have a vision of a black and white dyed art piece. This will be a project I can work on with the kids, so it’s a win/win.
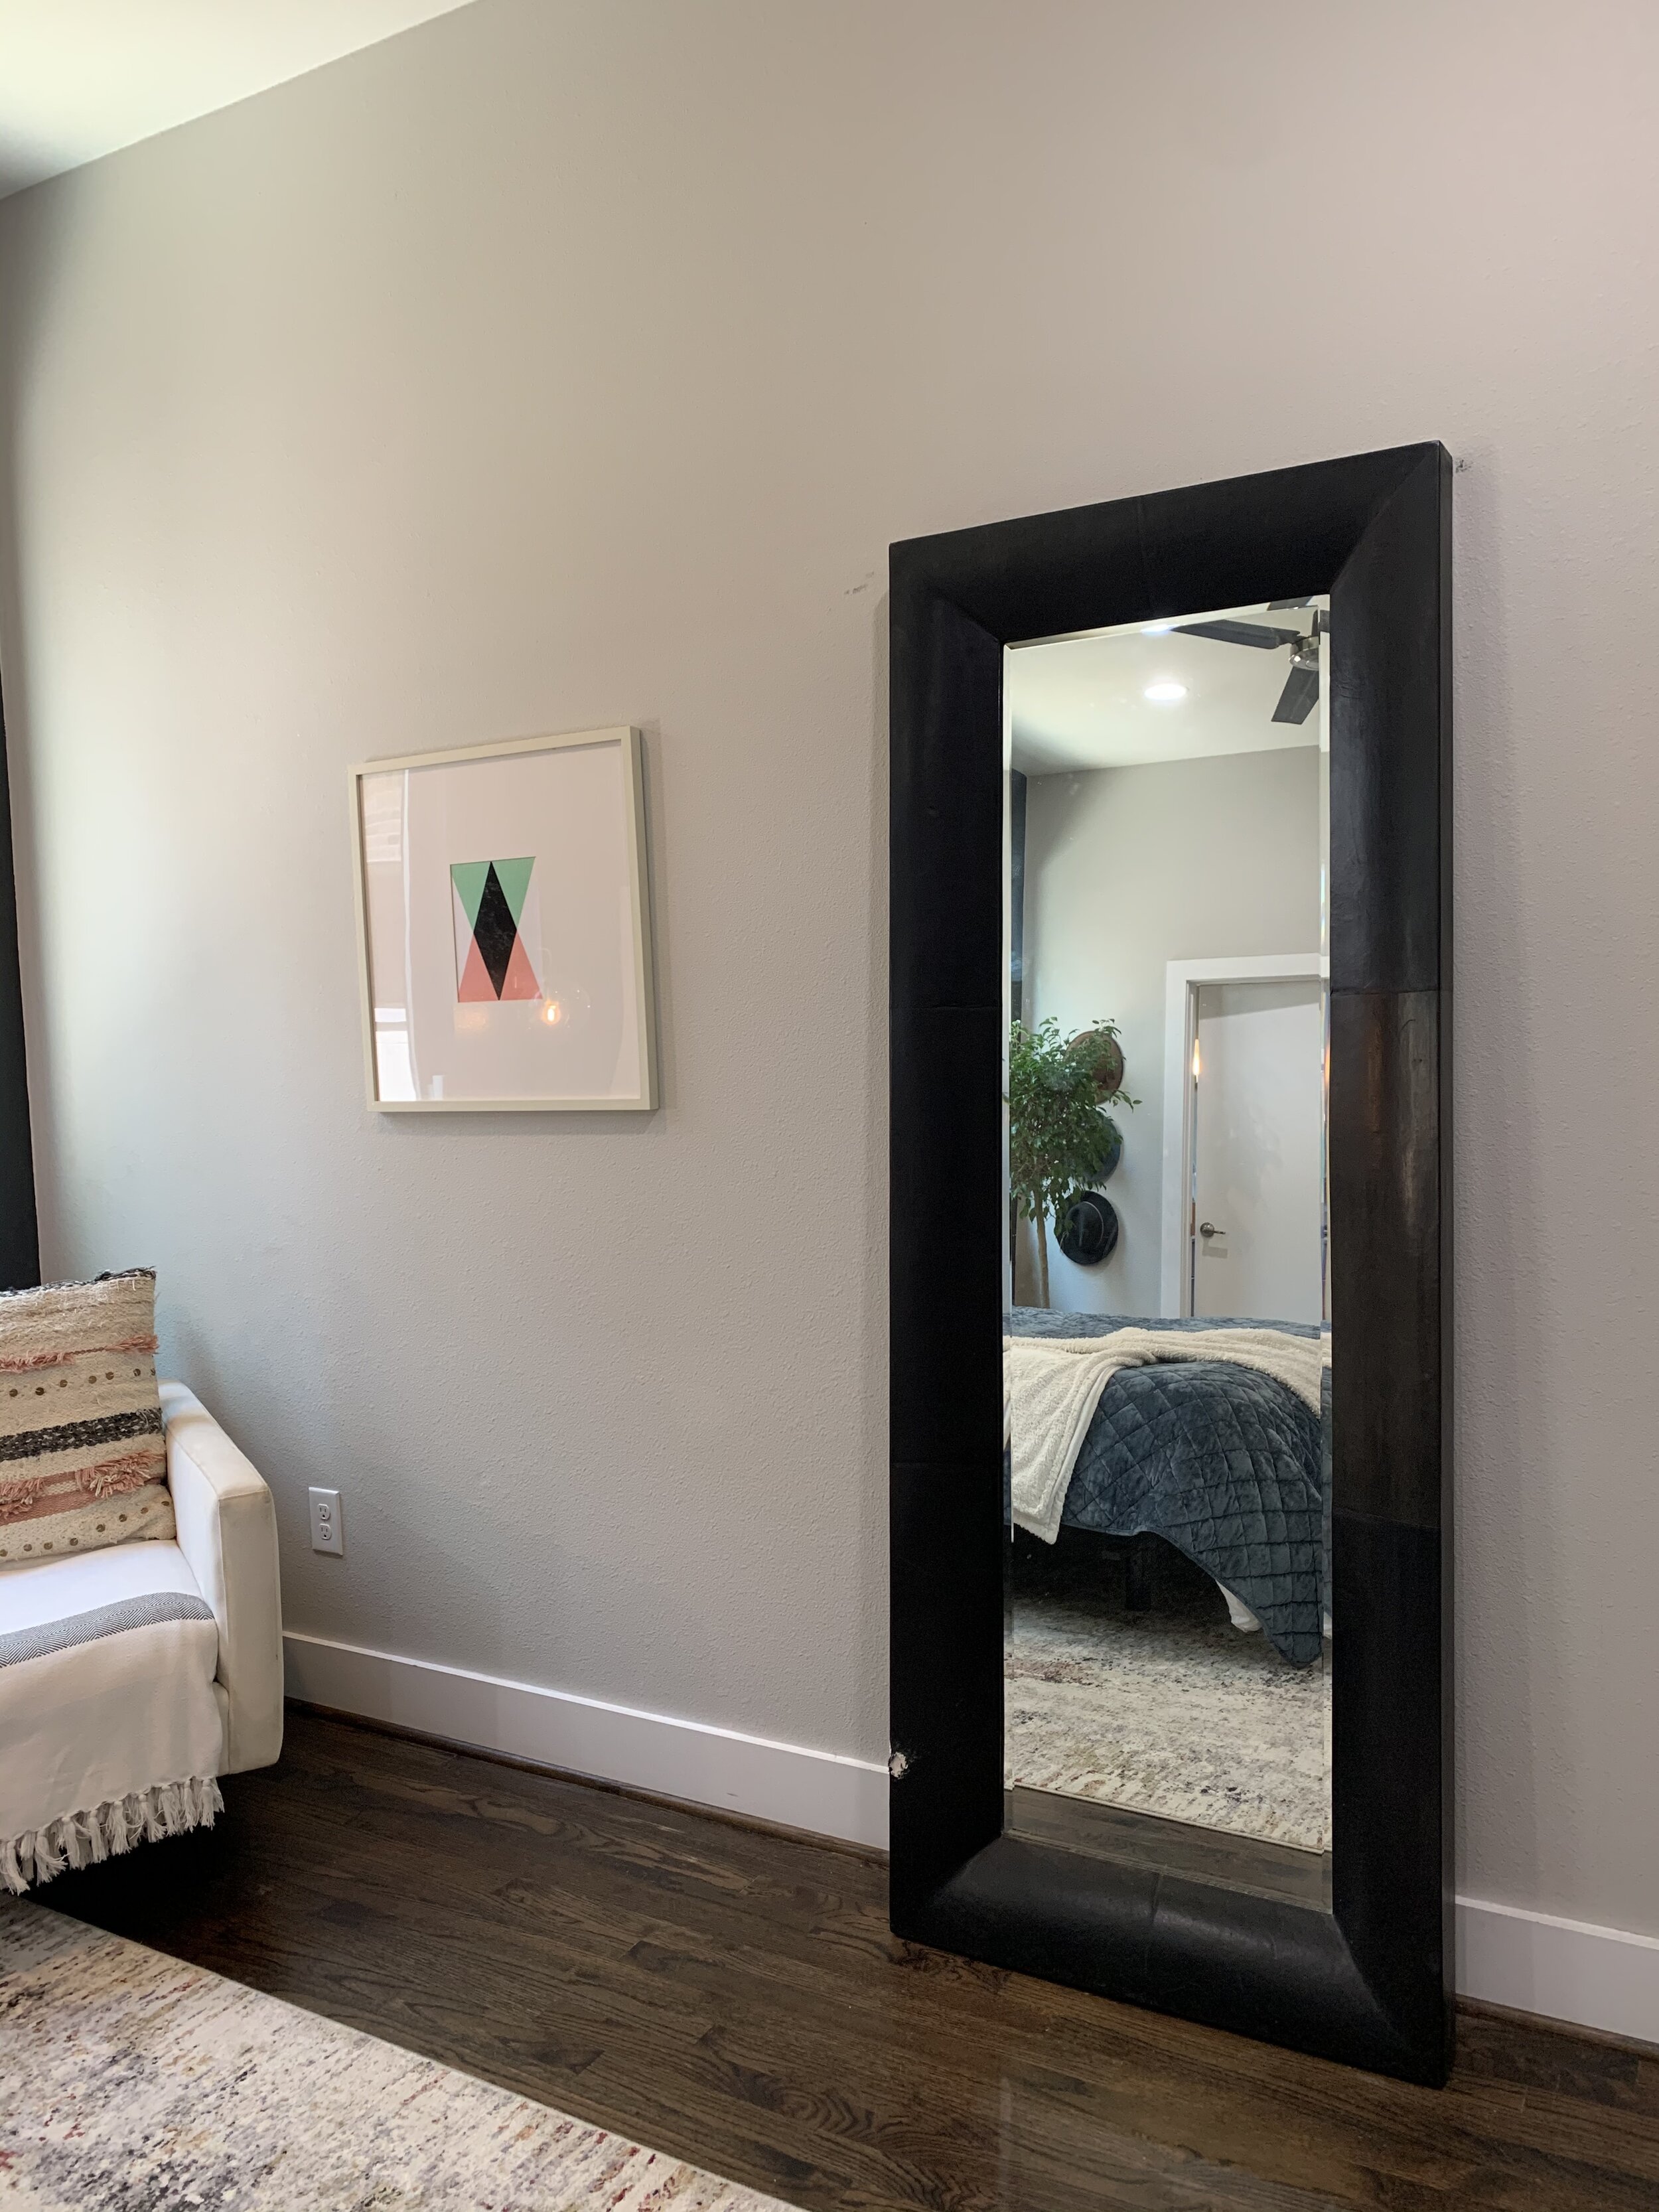
Floor Mirror Rehabilitation. Remember that cute puppy we got during the beginning to the pandemic of 2020? Well, that cute puppy chewed my leather framed floor mirror. I tried repairing it, but it looks like - well - like it was chewed on and poorly repaired. I plan to take the leather frame off the mirror and build a new one.
Fresh Paint - to top it all off, I will give the entire room a fresh coat of paint. Boring, but important.
There is no turning back at this point as evidenced by all of the materials piling up in my garage turned workspace. We have 8 weeks - Let’s Go!
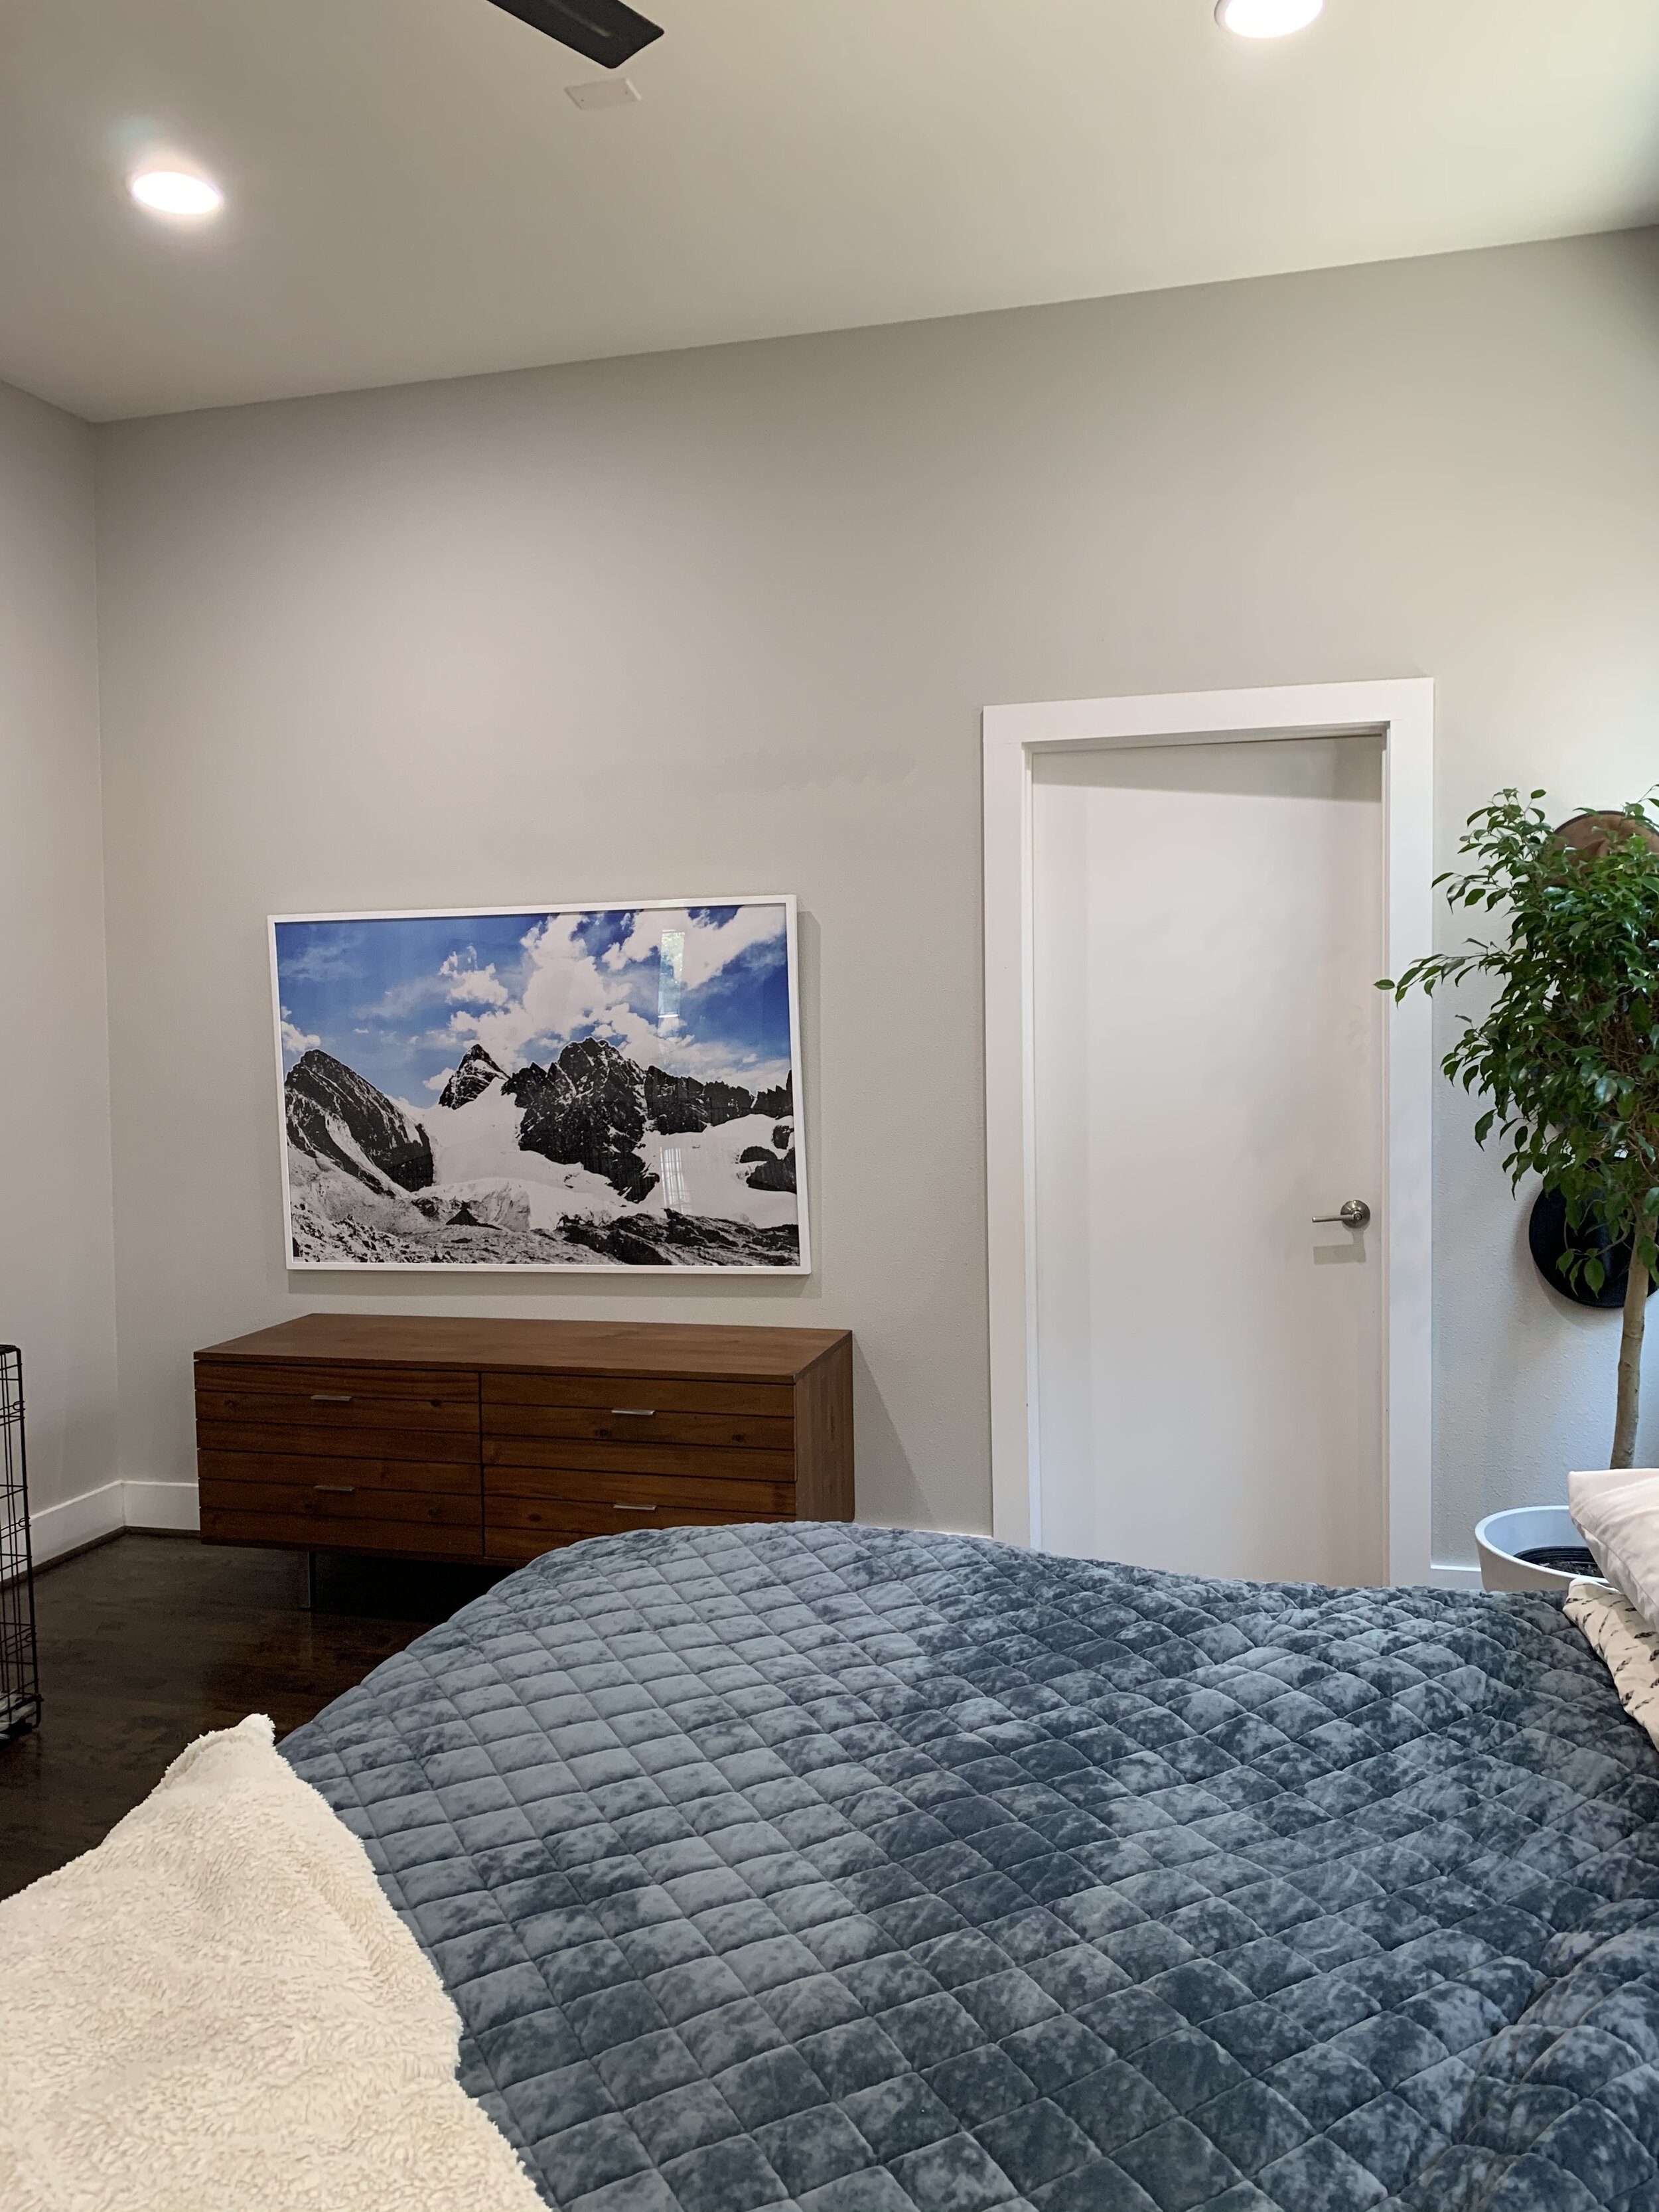
See below for the before shots!


One Room Challenge - Week 2
Week two was all about waiting on a delivery from IKEA and then racing the clock to get the two PAX IKEA wardrobes assembled. I ordered them in February, and they just arrived (it’s May)! These wardrobes are hard to come by here in the USA.
I am usually a humble gal, but I will admit I am amazing at putting together IKEA furniture. One of these wardrobes took me 22 minutes and 43 seconds. There is absolutely no use for that skill in life, but I sure have it! The PAX wardrobes will eventually have doors (regular and kennel approved), have drawers, have rods, and go all the way to the 10-foot ceiling in this room. A little caulk, trim, and paint and you will think these wardrobe/kennels have always been a part of this room.
With these wardrobes up in the room, I can see the vision a little better. I start to get excited when things come together - do the dogs look excited? Um - no. They aren't yet, but they sure will be after I’m done on this project. There is still so much to be done, but today on week two of the One Room Challenge, let’s celebrate the progress!
Can you spot all of the little (but very important) changes from my Week 2 Progress picture?
One Room Challenge - Week 3
This week kicked my booty - juggling work, kids and DIY can be too much sometimes! However, I did what I could!
Since last week’s update, I did a few v. important things:
Assembled and installed the drawers and shelves. These will be hidden behind doors but make this space function perfectly for me.
I tore out baseboards - a first for me. I got a multitool and found it very easy. Cut any caulk and pry board away from the wall. They popped off beautifully! With the baseboards gone, the wardrobes are no flush against the walls.
I built a platform to go under the two PAX wardrobes. I used scrap 2 by 4’s I had in my shop (my garage and gym). I cut them down do the size of the two PAX wardrobes combined. It turned out to be a 78 7/8” by 22 1/4 rectangle. I added supports where the two pieces met in the middle for extra stability. I secured the base to the studs in the wall.
I had an outlet removed! Out of my expertise at the moment - electricity is no joke.
I filled the hole made by that removed outlet!
I built my upper boxes and got them installed just in time for a progress picture. This boxes were custom made by yours truly - I got primed pdf the same size at the PAX wardrobes. I cut them to size, and made boxes with wood glue and good-old pocket holes.
This is my first One Room Challenge - so I have no baseline. The biggest pro is the motivation to keep moving on a big project! Let’s go.
Week 4 - One Room Challenge
I really wanted to focus on the challenge part of this One Room Challenge this week! I spend most of my time taking down everything I had done because of a 1/8” gap I couldn’t let go. Yep - I took everything down. I reached out to my Instagram family - got advice - took that advice - and fixed the 1/8 “ issue.
What did I learn? When installing builtins in a corner mount to 4 studs not just two like I did! As soon as I added two additional supports, the entire 1/8” gap disappeared. So, that took the wind out of my sails a tiny bit! I planned to be totally done with the built-ins today, and I’m not. I am close, but close only matters in horseshoes and grenades (old man joke).
After I got everything squared up, I installed my upper cabinet doors. These had to be customized and perfectly cut. I have a huge amount of respect for custom cabinet makers now. Getting it right matters. After a few tweaks of my hinges, I got my upper large doors in good shape.
Next on the to'-do list was the kennel doors. These have been an ever evolving plan in my mind. I decided to use 1x3 pre-primed pine for the edges and galvanized sheet wire for the middle. I cut each side to length, drilled pocket holes, and ripped a groove down the side. I imagined the wire sliding like butter into the groves - instead it slid like stiff wire - which it is.
I will get this part of the room done this weekend! Let’s go!
One Room Challenge - Week 5.
The built-in kennels are 95% done. I lack the trim around the bottom, and the cabinet hardware. Still - I am in love love love. Installing custom cabinets gave me a new respect for cabinet professionals. I tweaked and groaned and retweaked and squinted over and over until I got the cabinets lined up. Phew! These kennels are beautiful and I was happy to remove the big black pet store kennels out of my life! I have not regretted the One Room Challenge for a second - it’s the push I needed.
One Room Challenge - Week 6
Art - This can make or break a space - and I am in love with this dyed-fiber are I just finished. The built-ins made the space feel clean, but also lacked texture…enter fiber art! She has all the texture and can handle competing with a slatted feature wall and a wall of built-ins. I went to black and white, but you could do any color at all. Week 6 of the One Room Challenge has been my favorite because I can finally see the vision coming together. Two weeks to go until my dream bedroom is 100% done!


